
ติดตั้งฟีเจอร์เสริม Wireless Display คืออะไร
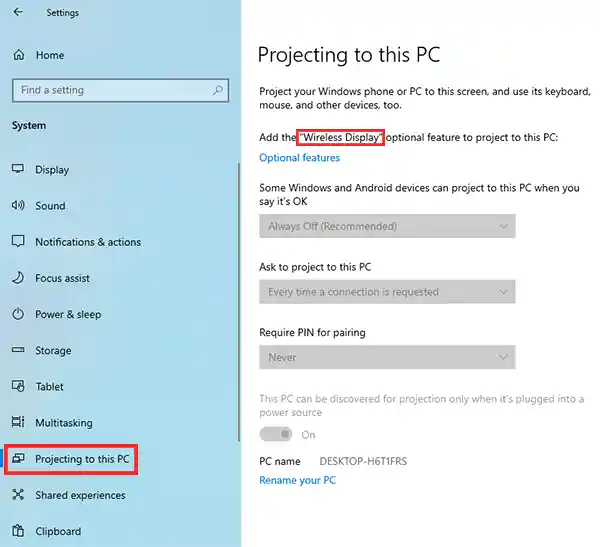
สำหรับผู้ที่ต้องการใช้งาน Projecting to this PC หรือการสะท้อนหน้าจออุปกรณ์อื่นๆเข้ามายังคอมพิวเตอร์หรืออื่นๆ ที่เป็นความสามารถของ Windows 10 และ Windows 11 นอกจากจะต้องมีอุปกรณ์ที่สามารถเชื่อมต่อ WiFi ได้แล้วยังจำเป็นต้องติดตั้ง optional feature หรือส่วนเสริมอย่าง Wireless Display ซึ่งจะมีอยู่แล้วใน Windows เราจำเป็นต้องติดตั้งส่วนเสริมนี้หลายคนหาที่ติดตั้งไม่เจอ มาดูกันว่าการจะติดตั้ง Wireless Display ต้องทำอย่างไร
วิธีติดตั้ง Wireless Display ใน Windows 10
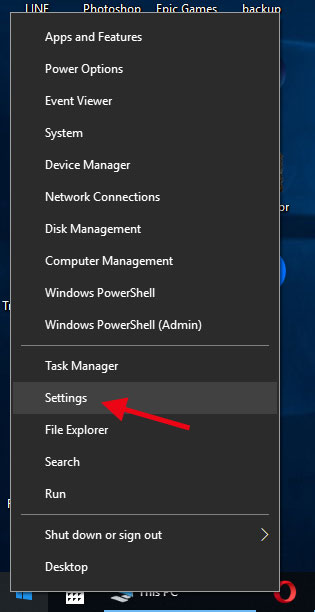
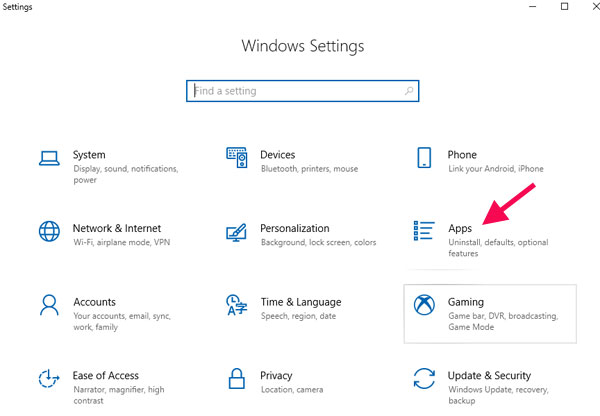
คลิกขวาที่ปุ่ม Start > Setting เลือก Apps
เลือก Optional features
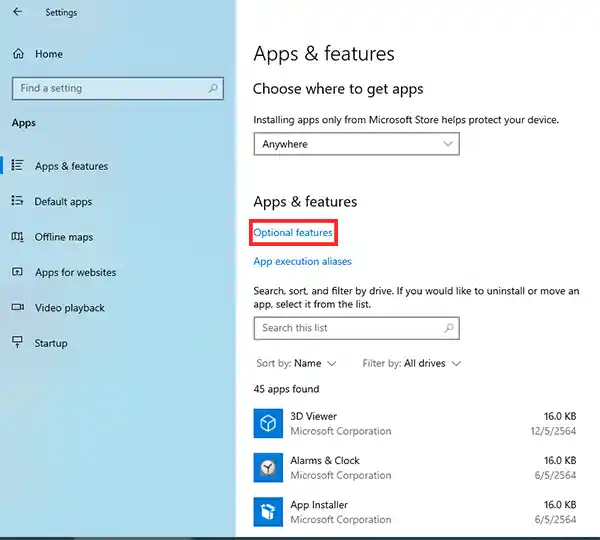
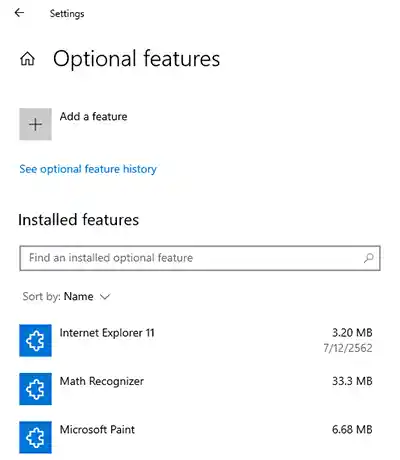
จะปรากฏหน้าต่างของ Optional features ให้เลือกเมนูด้านบนที่มีเครื่องหมาย + เขียนว่า “Add a features”
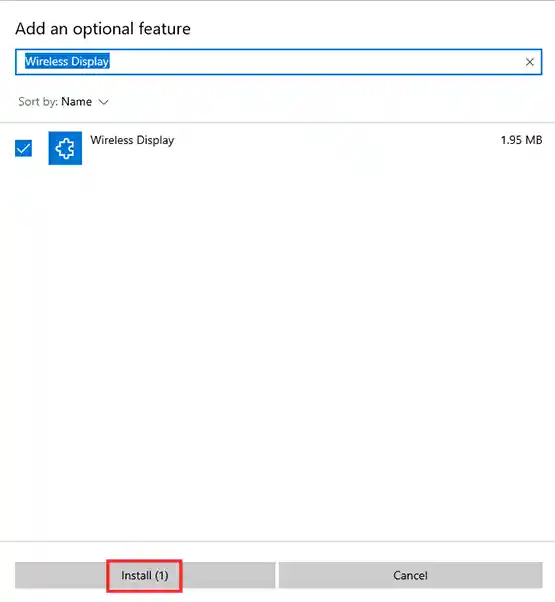
จากนั้นให้มองหาส่วนเสริมที่ชื่อว่า “Wireless Display” หรือจะพิมพ์ในช่องค้นหา แล้วก็ให้ทำการเลือกและติดตั้งดังภาพด้านล่าง
ก็จะเป็นการติดตั้ง Wireless Display Windows 10 เสร็จเรียบร้อยแล้ว
วิธีติดตั้ง Wireless Display install Windows 11
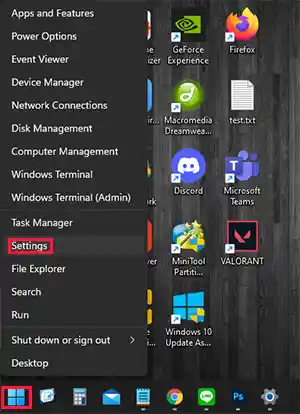
สำหรับใน Windows 11 ก็จะทำคล้ายๆกัน โดยให้คลิกขวาที่ ปุ่ม Start แล้วเลือก Setting > Apps >Optional features
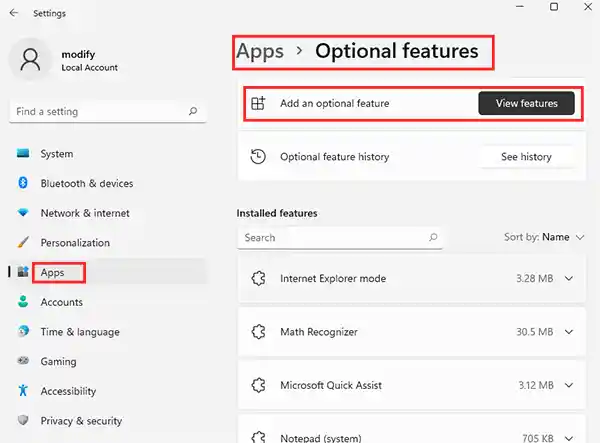
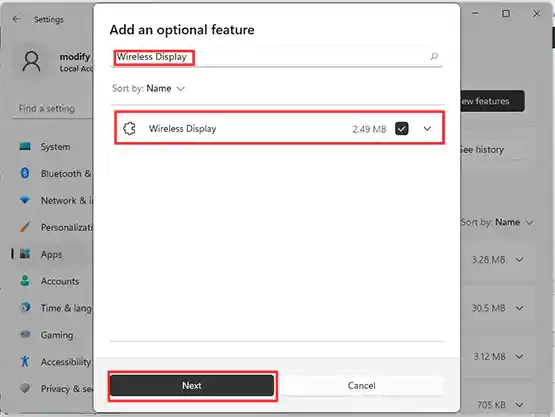
จากนั้นให้เลือก + Add an optional feature (คลิกที่ View features) ดังภาพด้านล่าง
ค้นหาแล้วติดตั้ง “Wireless Display” เหมือนใน Windows 10
Leave a Reply